1 Hardware upgrades for cheap bedslingers
Here comes a short list of cheap upgrades for old i3 bedslingers like the Ender 3. The idea is to spend no more than 20-30e in order to support the performance increase allowed by Input Shaping and Linear / Pressure advance coming with Marlin 2.1.2.1 or Klipper.
Generated on 2025-01-07
1.1 TLDR Essential parts
In order to sustain faster speeds you need better flow from your extrusion system, something in the range of 12-20mmc/s to archive max speeds of ~200-250mm/s with a line width of 0.4-0.7mm. Then you need better cooling for that increased amount of material, in the shape of one or two 5015 blowers.
As the print requires higher acceleration in order to reach meaningful speeds you will find useful a PEI sheet for your bed, both lighter and with better adhesion than glass if you are still using that. Using a glass bed would probably limit acceleration to ~3k, limited bed adhesion would require the use of brim or glue for most prints.
So you need:
Hi flow nozzle, CHT clone
Bimetal heat breaker (highly recommended yet not strictly required)
PEI sheet for quality of life
That’s as cheap as it gets, better options will come further ahead.
Despite common belief you may not need to upgrade the actual hot-end, the standard one with just a better / longer nozzle should be up to the task of providing enough flow for ~200mm/s speeds with a 0.4mm nozzle, that may not hold true if you plan to use bigger nozzles.
1.2 Better parts
You can search for those parts on Aliexpress for lowest price, Amazon or Ebay according to shipping time. Disclaimer: I’m not affiliated with any store so I’ll just provide general descriptions and key words to search, when multiple sellers are available the one with more orders and activity time should be preferred.
1.2.1 Extruders
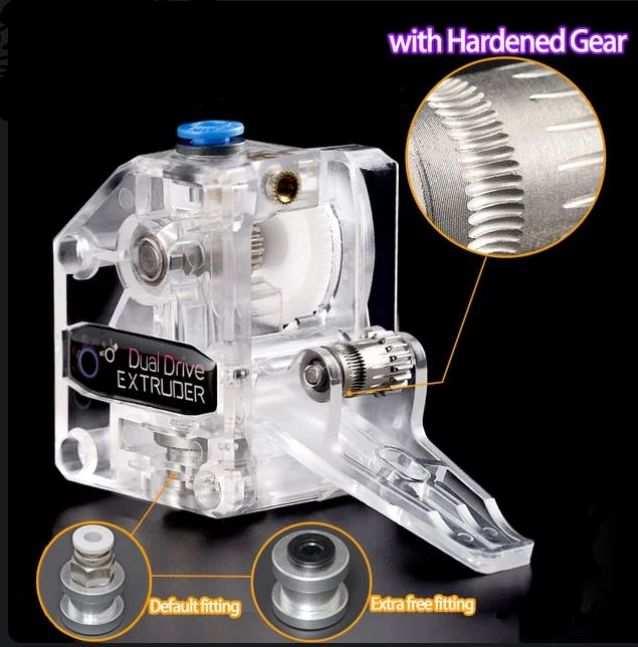
The standard single gear plastic extrusion is trash, the marginally better metal dual gear are not up to the task for ~200mm/s. The base line is going to be a BMG clone extruder, usually worth some 11e on Aliexpress (so maybe 18e on Amazon or Ebay). Look for one with hardened gears, as they have better traction and last longer than the cheap ones.
For better quality, look for a TriangleLabs product .
Better models would be a Sherpa Mini (can be bought as parts kit and 3d printed), Orbiter (again look for Triangle lab for a quality product), Voron Stealthburner (FYSETC comes to mind). Yet I would not bother with those as the limiting factor for the cheap bedslingers is the weight of the bed therefore there’s no point in spending much on a ultra-light extruder as the acceleration is going to be limited anyway by the Y axis.
Better advice is to buy cheap and keep a spare, a BMG clone is simple and mass produced product that can be bought for cheap and has proved to be reliable in years of usage, if you want fancy ultra light you should not cheap out. Those models also require an expensive pancake stepper motor.
1.2.1.1 Small Step Motor for direct drive
You don’t need to buy one.
As said the limiting factor is the bed weight so it’s OK to put your old extruder motor on the gantry when you go direct drive, you probably won’t be able to do more than ~6-8k acceleration so you don’t need a light motor.
Yet if you have an original Ender 3 you got an over sized step motor for the extruder, in this case there are two options:
Swap the big motor for the X or Y axis, you could actually use more torque there.
Get a smaller motor, no need for a pancake, one nema 1742 stepper motor 23mm would do.
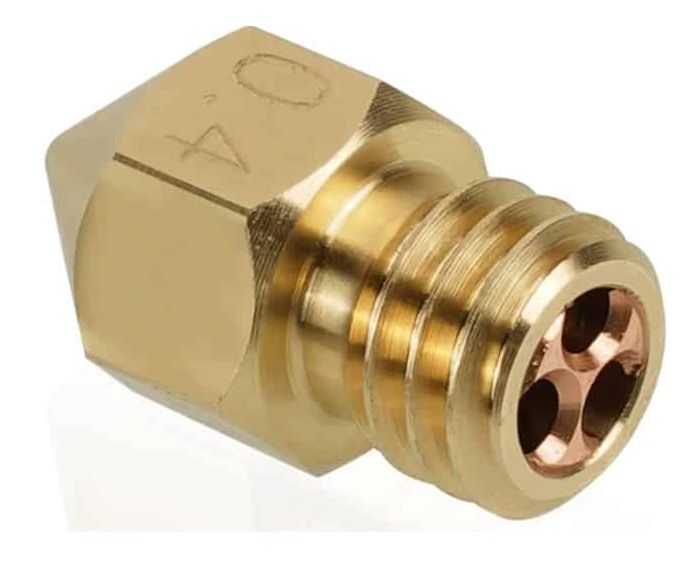
1.2.2 Nozzle
CHT like nozzles should provide some 20-30% increase in flow paired with a decent extruder even better if in direct drive mode (it takes just a printed adapter). An other option may be to get a volcano nozzle and use that on you normal hot-end, it works yet you will have to adjust end-stop and fan ducts for the increased length.
A volcano nozzle may be overkill, at least on my printer a mid range 16mm nozzle does provide enough flow to print 0.7mm line width with for 0.25mm layer height, as much as I would ask from a 0.4mm nozzle setup for solid infill.
Search for:
Clone CHT Brass Nozzle (Note: they don’t sell clone CHT nozzle anymore on Ali).
Brass Surface Electro plating Nozzle These are some weird ones: length is 16mm so you will have to adjust Z end-stop and fan ducts, yet they are not CHT (which may help with retraction), they are electrocoated (helps with PETG and helps to keep the nozzle clean), they are actually pretty cheap so easily disposable. Also 0.3mm and 0.5mm are reasonable options for some more details or faster prints if you are not looking for trouble.
Clone CHT Volcano Nozzle Brass : longer, you will need to adjust z off-set and modify your fan ducts.
1.2.3 Fans and blowers
More material extruded requires more cooling, that can be archived by quantity or quality, keeping an eye on cost and noise. Oil / hydraulic fans are cheap and quite but less performant, hi quality ball bearing blowers can be noisy like a small jet.
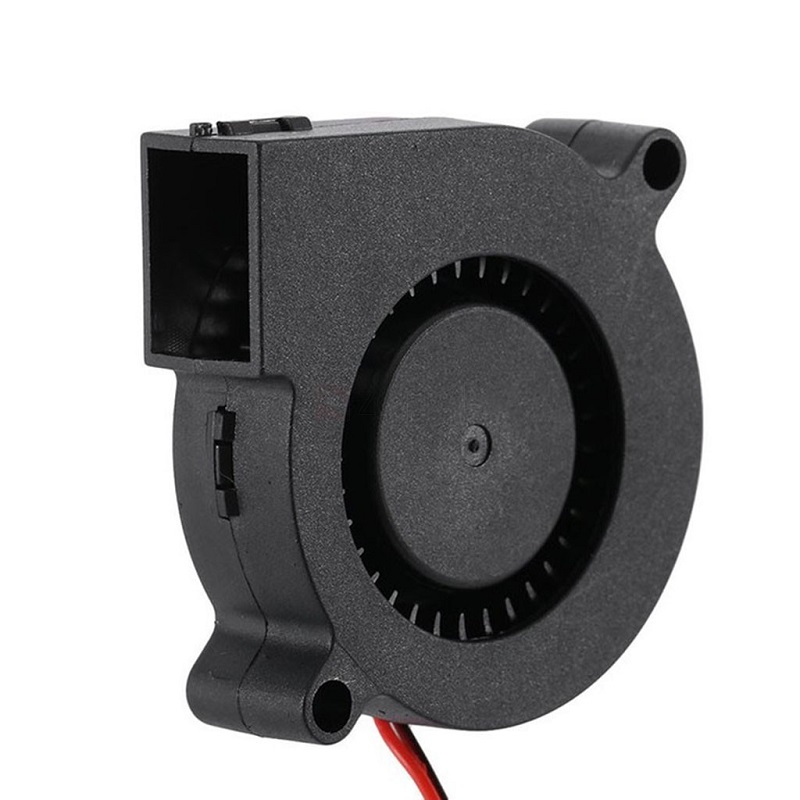
Once again the weight on the gantry is usually not a big deal when compared to the bed so it make sense to look for a double 5015 with lower RPM if you want to save money and have a quiet printer. On the other hand one fast blower means less mass to move around but comes with an hi pitch sound and price tag.
Same goes for the hot-end: it may be worth it to mount a slower 4020 rather than an expensive hi RPM 4010, yet the original 4010 should suffice.
Always check your voltage before buying, 12v or 24v, check your old fan or the PSU reported voltage.
Here’s some examples:
Cheap hydraulic 5015 , commonly used in custom fanducts,get the hi RPM.
Bigger, powerful, cheap 5020 blower for custom air ducts.
4020 fan for hot-end:
Sleeve low noise cheap 4020
Better quality 2 Pcs Gdstime 4020
low noise Sunon Maglev 4020
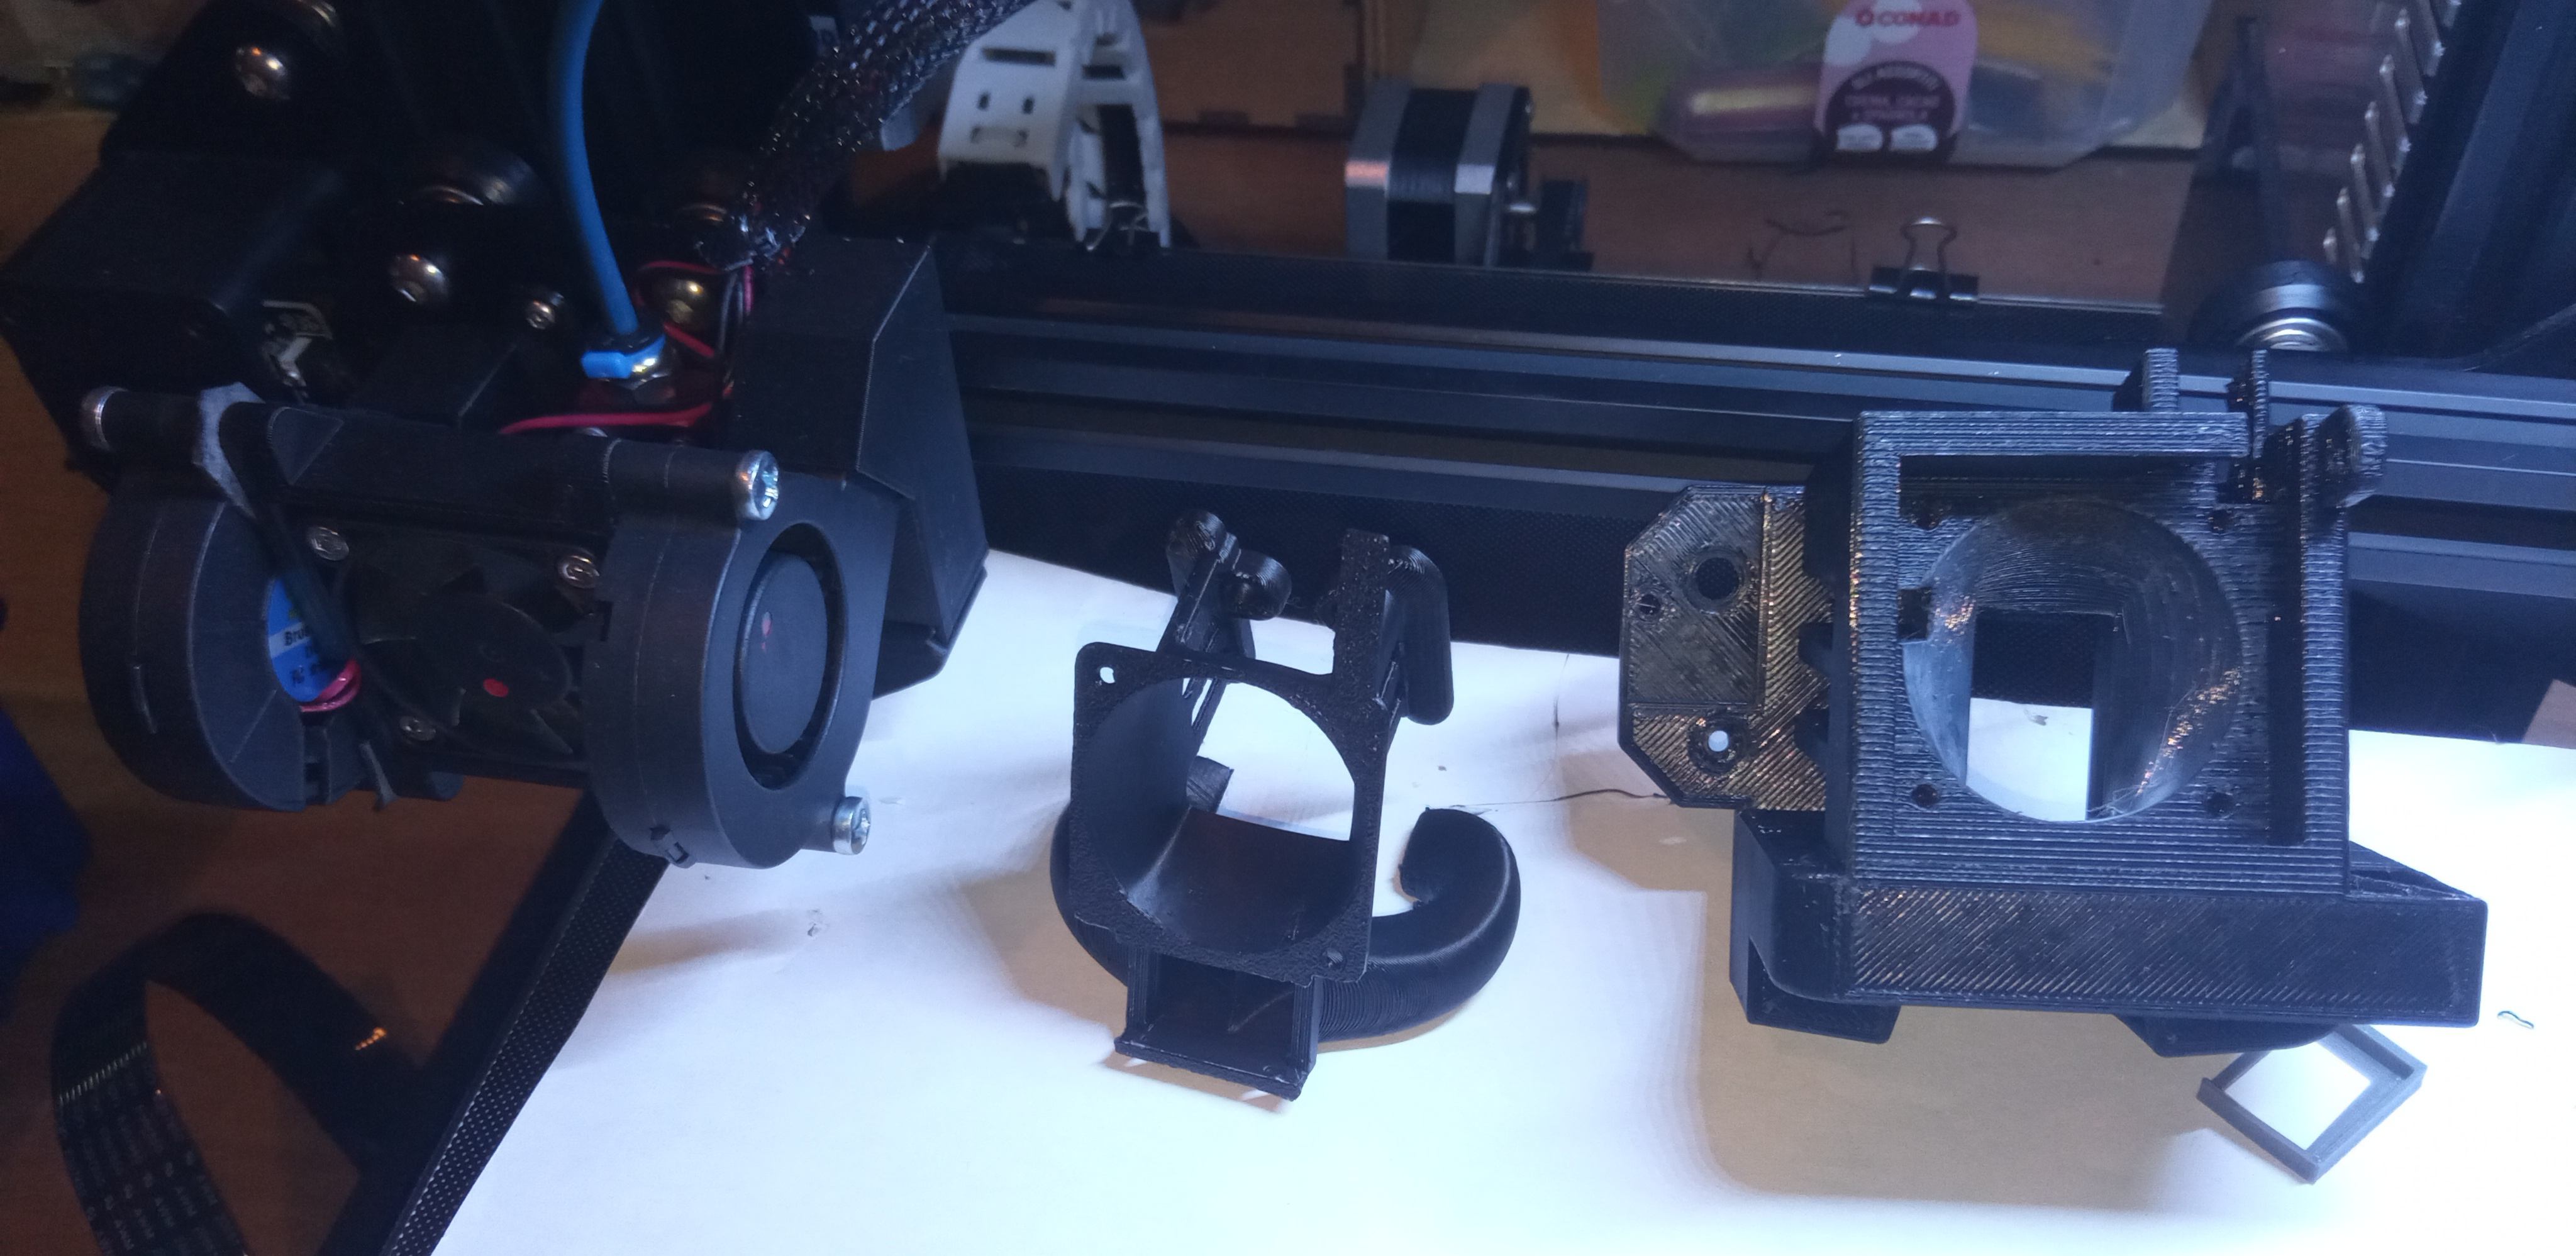
1.2.3.1 Fan ducts
You can print new fan ducts, even better design your own. For pre made models I would recommend:
MiniMe for essential light build, it works with any Ender 3 like hotend.
Dual Satsana (or single) for bigger build with easy customizable separated ducts.
1.3 Bimetal heat breaker
For printing just PLA at low temperature nothing is better than an in-line bowden that goes from the extruder straight against the nozzle, yet low quality white bowden can be too loose, Capricorn or similar better quality 1.9mm bowden have better temperature resilience for printing PETG.
Nevertheless in line bowden is a trouble maker, it can cause filament leakage if not cut and mounted in the right way, can cause retraction problems (maybe due to a bad pneumatic coupler that comes with a cheap bowden), you have to check often that it doesn’t get burnt on the nozzle end.
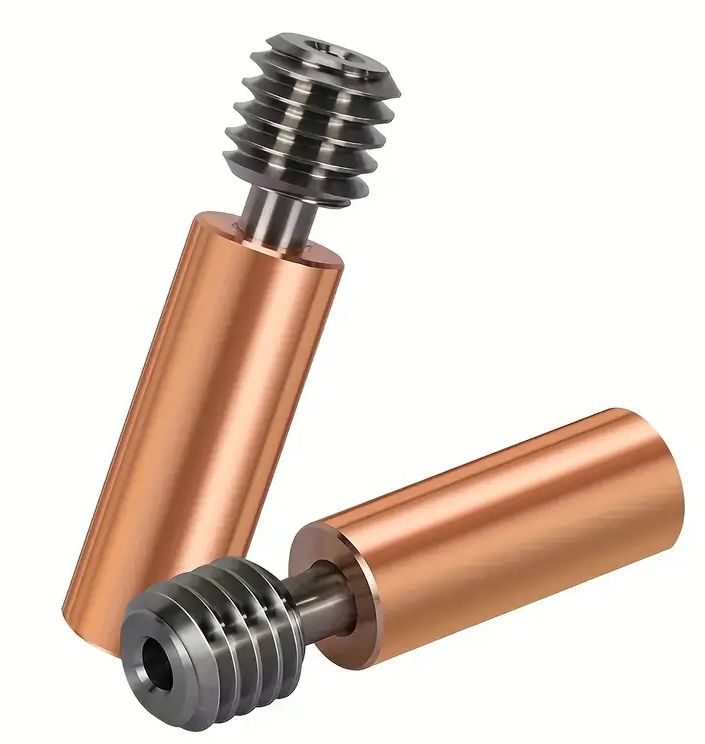
Enter bimetal heat-breaker : no more worries with temperatures higher than 235c, no more need to babysit the end of your bowden. This is a cheap solution to what was an endless cause of troubles for the old extrusion systems. Search for: Bimetal CR10 ender Heatbreak, for Ender 3 hot-end you want the smooth version.
Cheapest : tested, it works fine.
Better quality with copper hot-end side.
Old in-line stainless steel in case you want to go back to the old one.
1.4 Expected results
What we want is to reduce print time, yet what we talk about most of the tune is print speed.
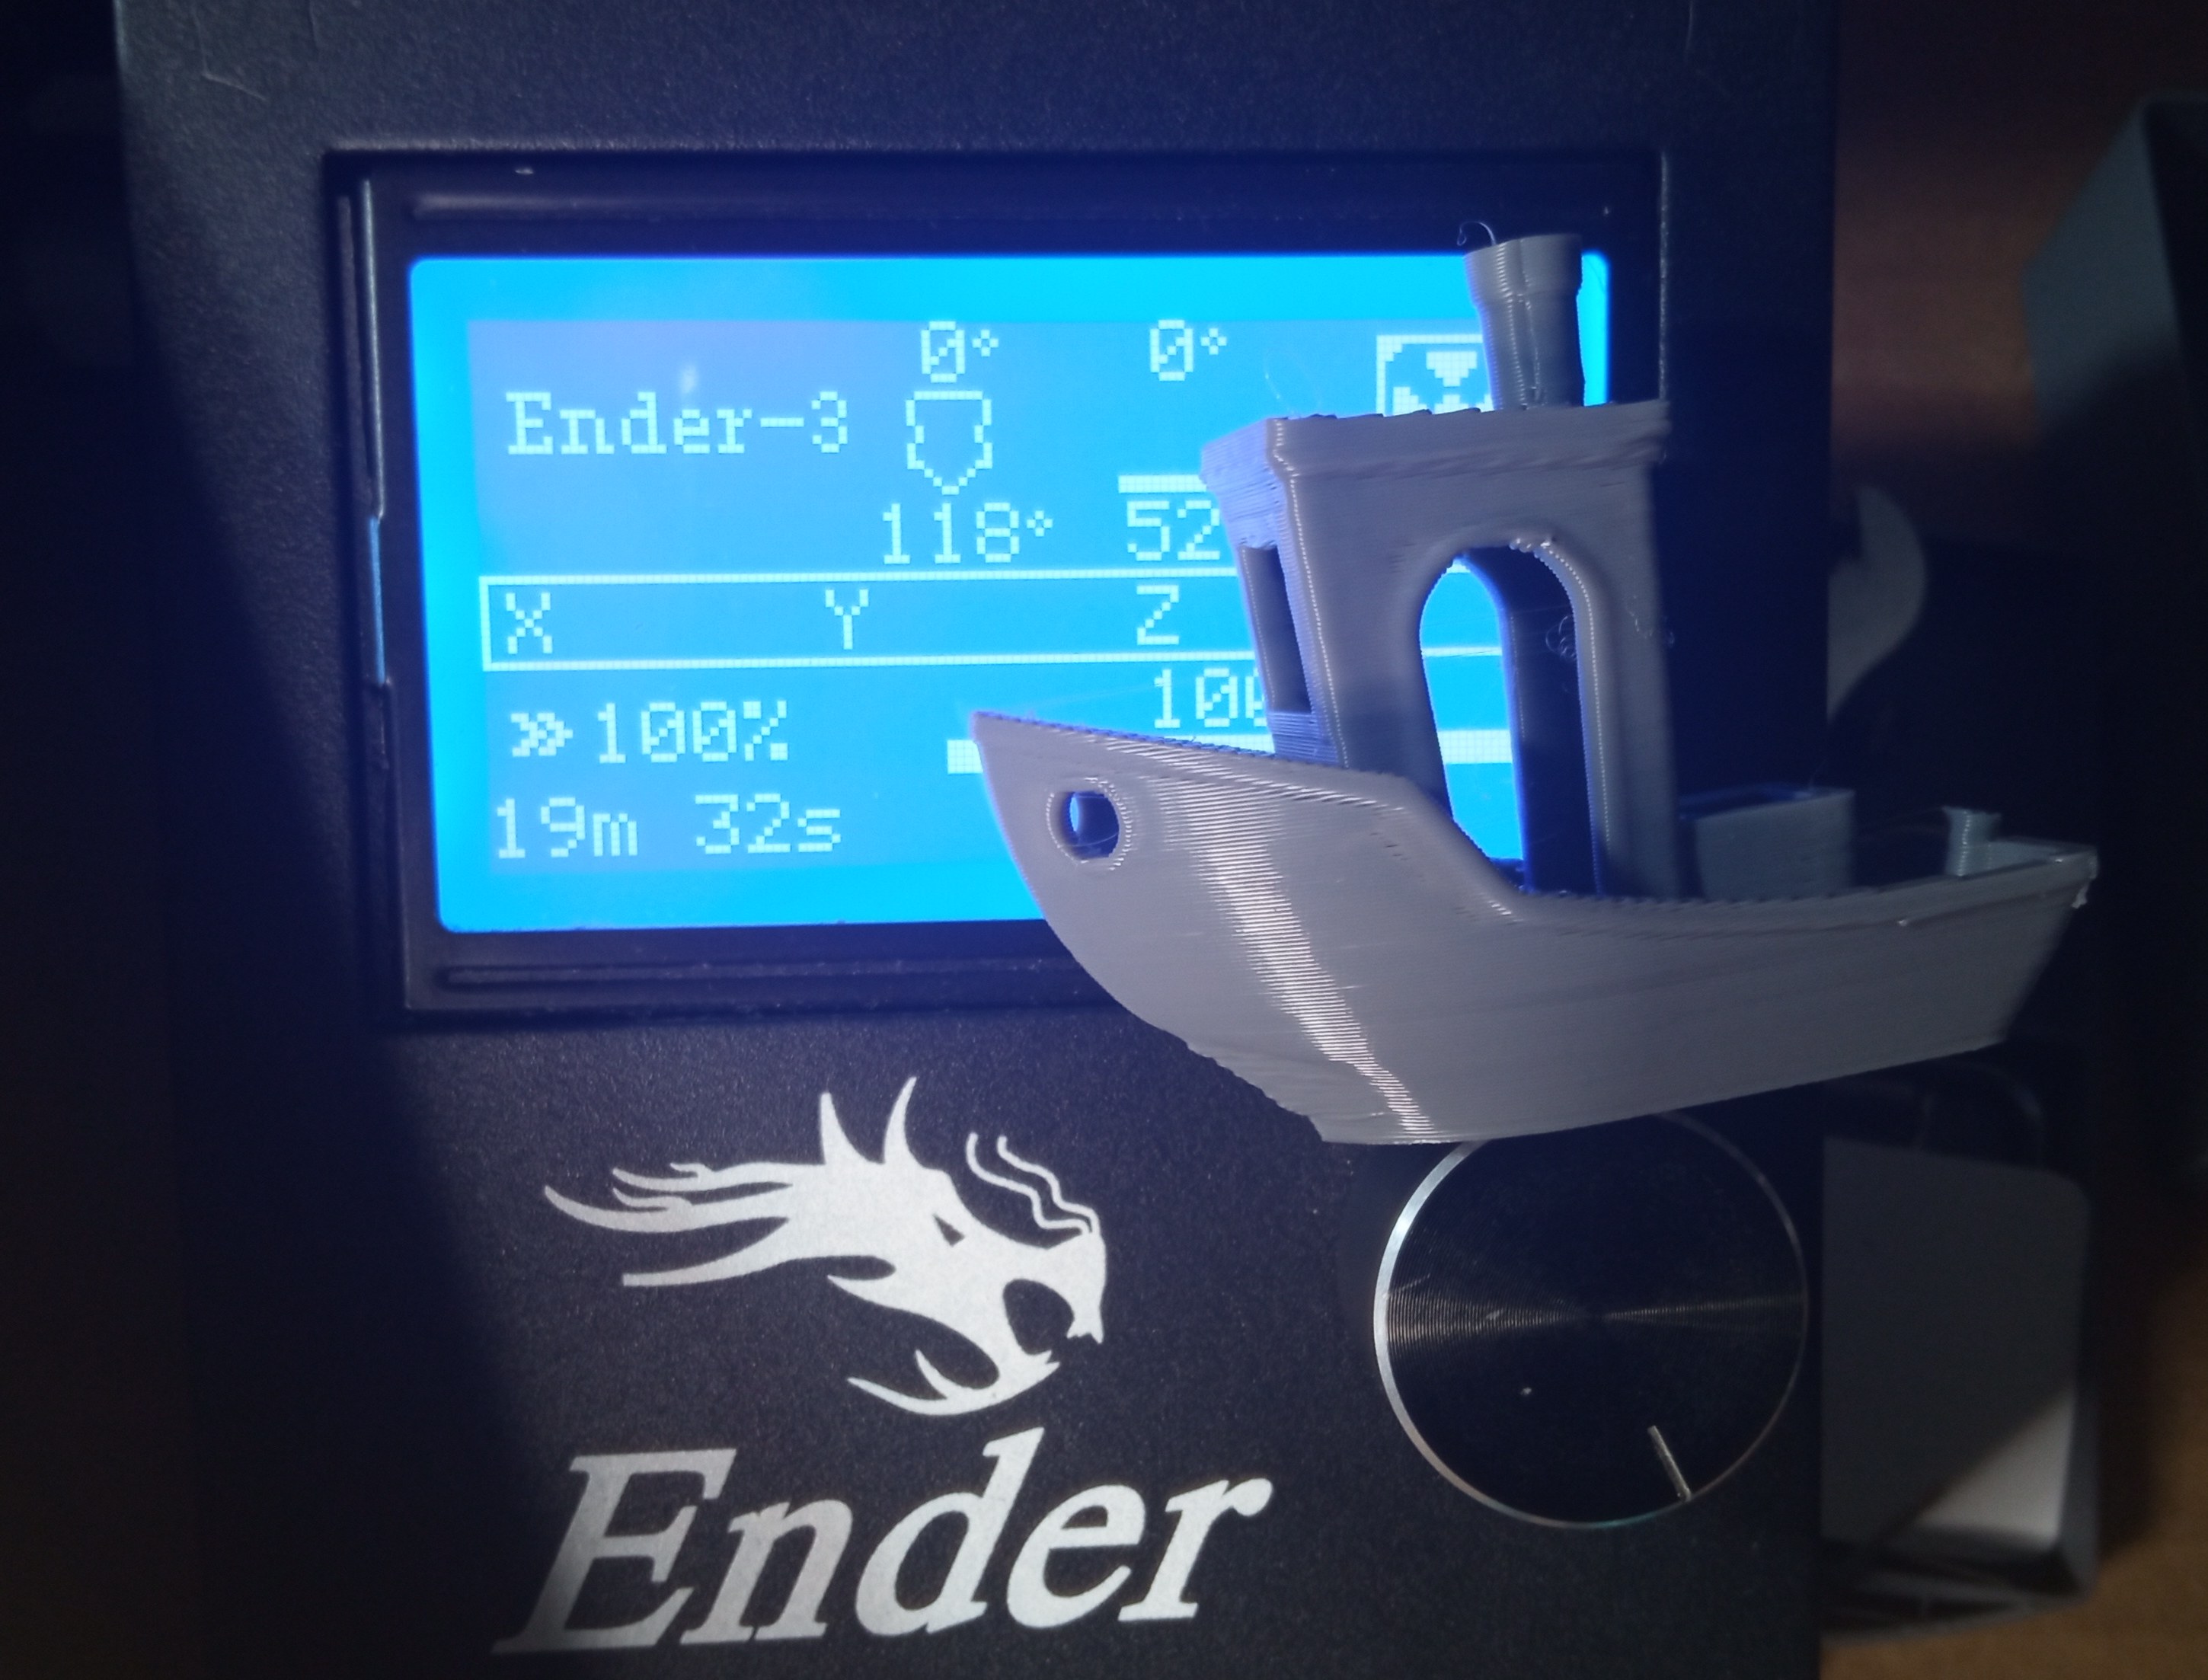
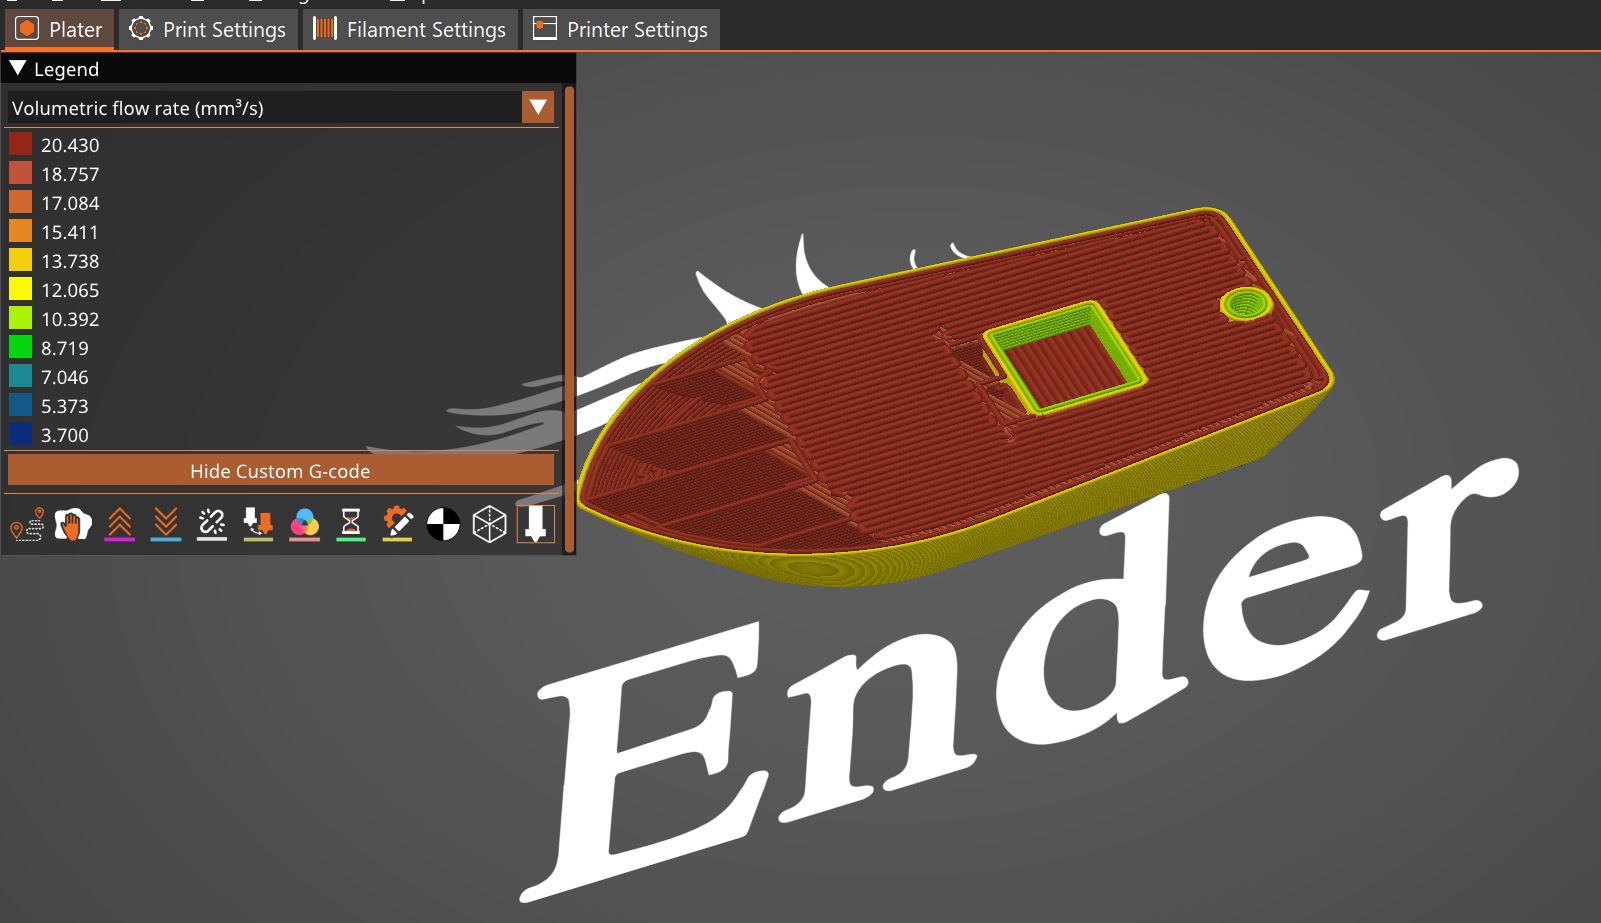
Print speed is a measure of how fast you can print each feature as perimeters, infill, it is limited by how much material you can extrude in a second, expressed as max flow: when you try to make your printer go faster than that and you get under extrusion. To know the max flow of your extrusion system you may do Orca Slicer max flow test, that does a real print so you also see if your cooling is up to the job. When you deposit much more hot material you also need more cooling otherwise your new line will squish the previous still soft extruded layer.
When you find your Max Volumetric Speed you can put that value in your slicer to limit the actual max speed for any line width you are going to use. If you’d rather see a max speed in mm/s you can use a max volumetric flow calculator , that should translate to something like 200mm/s .
The actual speed that you can archive during a print depends on the acceleration that you your printer mechanics allows before going into layer shifting: if you have very limited accel like 500mm/ss it will take more time / space for your extruder to reach hi speed, hence only with big prints will get a chance to reach hi velocities. This means that without decent accel fabulous reported speeds like 800mm/s are almost meaningless
With very small prints an other essential factor is what Marlin calls jerk, the ability of you printer to change direction quickly. That can induce layer shifting at hi values (>15mm/s). Linear Advance in Marlin can also interfere with you acceleration target (Pressure advance in Klipper does not).
Yet the most important feature for acceleration, hence hi speeds, is Input Shaping, that is the secret sauce that makes your print quality decent when you use higher acceleration than you used to. IS drastically reduces the ringing / ghosting resulting from hi acceleration settings allowing you printer movements to use as much acceleration as hard layer shifting allows. That’s how you can reach hi speeds quickly even in small prints eventually reducing print time.
Final notes: be aware that print speed is different from travel speed, the latter means movements without extrusion. It happens that some manufacturer brags about max speeds of some ludicrous values as 500mm/s: those are usually travel speeds if not specified as print speed, quite often the printer can’t extrude at those speeds. Even when you get actual print speeds of say 250mm/s those are usually limited just for the infill while the external perimeters may be as low as 160/s to obtain decent quality. Only few materials allow fast speed, some as TPU are usually printed very slow, functional prints that requires strong inter layer adhesion are usually printed slow anyway.
1.5 Quality or life items
Step motors heat sinks
3D Touch bed probe to auto bed levelling, assisted bed tramming, adaptive mesh.
Accelerometer for Klipper, there are USB cabled versions for convenience.
SBC board for Klipper: BTT P1 or Orange Zero 3 (1GB RAM is enough)